how to create SEO friendly permalinks and the reason you want to do this is that we all like search engine optimization and if you do proper SEO your website and your pages will rank higher in Google for their keywords which means that you will get more traffic so one of the critical components of SEO is the URL, and I see a lot of websites getting this wrong, so I’m going to quickly guide you on how to properly SEO your permalinks.
Before, I Shri Ganesh this topic of reserving static IP on google cloud. Let’s recall what you learn previously :
How to Set up the Permalink Structure on Google Cloud?
It’s a setting within WordPress it’s straightforward to set up and we’re going to do that right now In the WordPress dashboard on the left side and then click on permalinks and we are presented with a bunch of options right at the top here, and these are the different types of permalink structures that WordPress has built-in.
Now if you’re an advanced user you can make your custom structures we have the access file. Still, even if you’re advanced user, there’s really no reason to do anything besides the default settings that you have here, and the one that you want to use that is SEO friendly is the post name permalink.
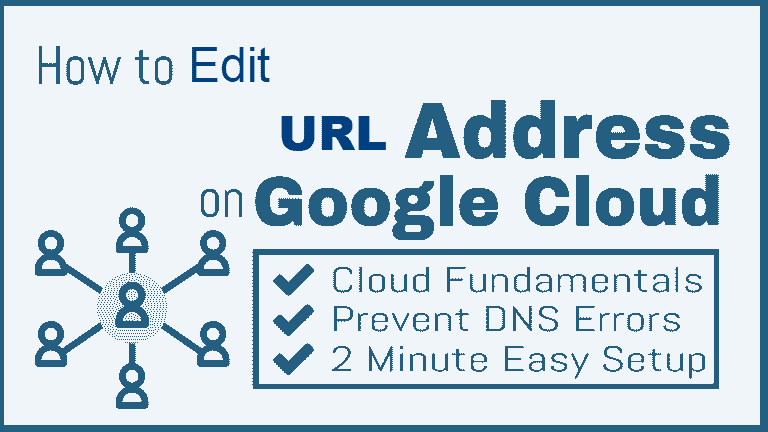
How to Edit a WordPress URL on Google Cloud?
It’s easy to setup WordPress URL on Bitnami version, and surprisingly more easy on click to deploy version. I am here to guide you on both versions of word press. Let’s start with Bitnami version.
Edit a Bitnami Version of WordPress URL
From your Google Cloud Platform dashboard navigate to “Compute Engine” >> “VM Instances”.
Once inside of your Compute Engine, click on the SSH button to connect to your WordPress installation.
If you connected via SSH, connect as a root user. then copy and paste below command in ssh terminal and press enter.
sudo -i
Next to open your wp-config.php file in the nano editor. by then copy and paste below command in ssh terminal and press enter. nano /opt/bitnami/apps/wordpress/htdocs/wp-config.php
Now Inside of your wp-config.php file, you will need to replace your SiteURL and HomeURL definitions as shown below.
REPLACE THIS:
define(‘WP_SITEURL’, ‘http://’ . $_SERVER[‘HTTP_HOST’] . ‘/’);define(‘WP_HOME’, ‘http://’ . $_SERVER[‘HTTP_HOST’] . ‘/’);
WITH:
define(‘WP_HOME’,’http://example.com’);define(‘WP_SITEURL’,’http://example.com’);
Alway’s remember to replace “example.com” with either the www. or non-www. the version of your domain name whichever you prefer. For example:
define(‘WP_SITEURL’, ‘http://www.yourdomain.com/’);define(‘WP_HOME’, ‘http://www.yourdomain.com/’);
Edit a Click-to-Deploy Version of WordPress URL
In this section you learn to edit URL From your WordPress dashboard, navigate to Settings > General from here, change the URL fields from your IP address to the domain name that you just transferred.
Okay, you have finished to Reserve a Static IP Address on Google Cloud Platform, Are you ready to learn the next tutorial on:
Thanks for learning this tutorial, If you have any doubts, queries, and questions regarding this above tutorial then feel free to connect with us. I will clear out your doubts.
Don’t forget to subscribe to my blog by email. If I add any value to your knowledge, then please follow us and share this tutorial with your friend on social media.